New Quad Frame Pure Carbon Fiber Quadcopter kit QAV250 Drone frame Mini 250 FPV rc Glass Fiber Quadcopter kit Flysky for ZMR250
H250 four axis light weight, small size, long life, easy to modify.
This rack is divided into carbon fiber and glass fiber edition version.
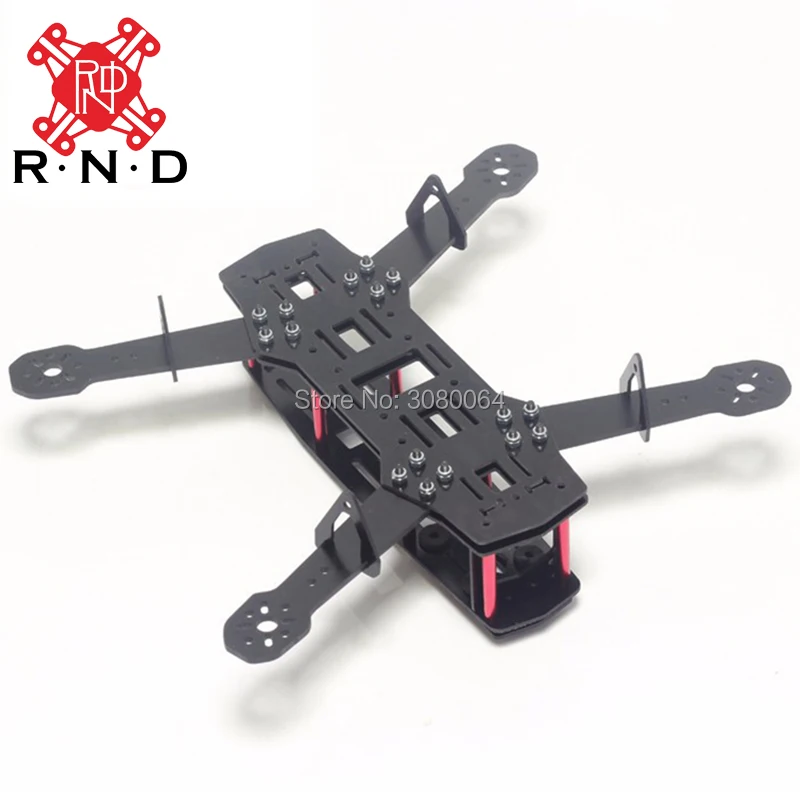
The thickness of the fuselage plate 1.5mm, the arm plate thickness of 3mm. (plate thickness error of + 0.1mm) of the 3mm thickness of the arm, to ensure that the aircraft in flight strength, effectively reduce vibration.
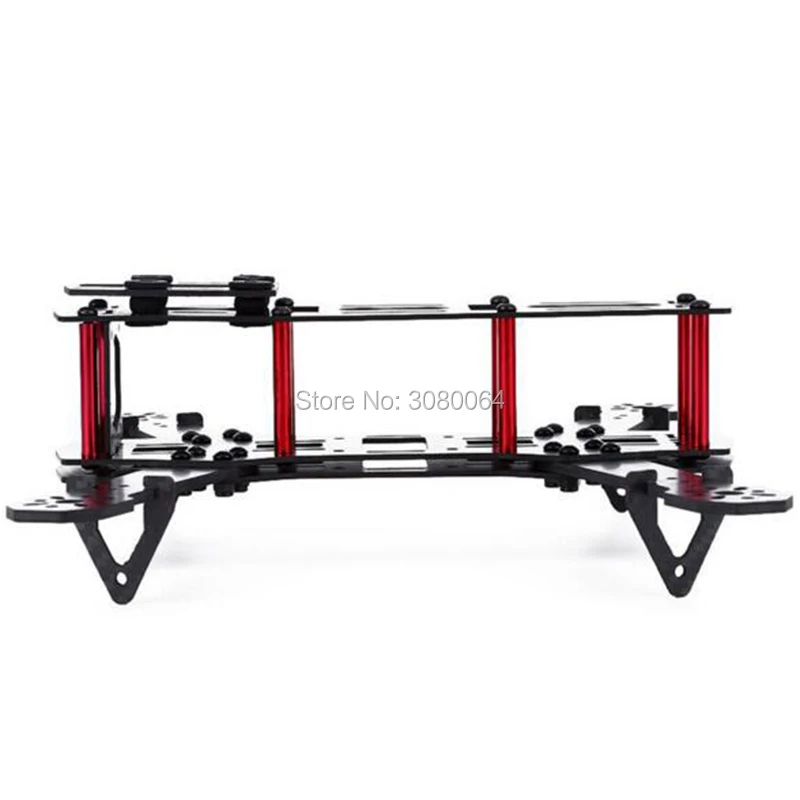
The fuselage is connected with aluminum alloy column to ensure the strength of the fuselage.
Power allocation (for reference only)
Motor: 2204-2208 series 1800-2200KV
Propeller: 5-6 inch
Battery: 1300MAH-2200MAH
Electric adjustment: 8A - 12A
This equipment configuration of aluminium alloy column, send four shock absorber ball.
Package include:
According to your chioce.
1.5mm Fiber glass fuselage
Machine arm 3.0mm
Aluminum alloy column
AV shockproof ball
FPV installed by edition
Screw
Recommended Configuration(Not included):
Motor: 2208/1800kv
Propeller: GemFan 5x3
Battery: 3S 11.1v1500mah
Flight Controller: FPVManuals CC3D, RMRC CC3D, Naze32, Flip Pro MWC
Receiver: FrSky T6- receiver
CCD Camera: SONY Super HAD CCD 600TVL Board Camera w/ 2.8mm lens
Package includes:
It is a low weight Mini Sport FPV Quadcopter frame.
It is designed to make use of standard sized electronic equipment commonly used in RC.
This allows the quadcopter to compete with larger quadcopters, while being smaller and agile
Working on Mini Quadcopters requires a lot of soldering, wire shortening and creation of power distribution systems.
This PDB Integrated LC filter,5v BEC 2A ,12V BEC 2A.Have the plug solder points for OSD,SP F3,CC3D,Naze32 Rev5.Solder the female pins in the spare parts bag on the PDB board, then plug the OSD and Controller to the PDB.There are LEDs on the PDB to show the front or end of the PDB.The LEDs will be flashed when the buzzer is loud. You can also turn off the LEDs by LED Power switch.
1. Point 1 connect camera. The voltage of camera can choose 5V and 12V by the solder point of V-CAMERA.
2. VTX point connect to FPV transmitter.The voltage of transmitter can choose 5V or 12V by the soler point of V-VTX.
3. The battery use 2-6s Lipo battery. Please note the "+" and "-".
4.The choice of 12V voltage ,can choose to use the battery voltage or use the precision 12V voltage from the 12V regulator.
5. The ESC point on PDB board is support power for ESC,Please note "+" and "-".
6. OSD ,TX,RX Date line ,when use the CC3D SP F3 flight controller ,need to connect the Tx/Rx to controller by yourself.
7. There is 5V output ports on PDB.
8. There is 12V output ports on PDB
9. There is built-in 5V BEC,so no need short circuit here.
10. This is LED Power switch
11. The connector point of signal line, the signal line ,the signal line is next to the Sx pin.
12.If you don&x27;t need to use OSD,you can use the short circuit cap in ther spare parts bag. Short circuit connect the 2 point which show "12"
13. The buzzer connect to the BUZZ point .Please note the "+" and "-".